The Calendar gives you lots of cool functionality on the Appointments screen, letting you book appointments and make changes on the fly—all without leaving the schedule.
Step-by-step: Book in an existing client
1. If you click into an available time block, the Calendar will go into booking mode with a floating window appearing where you can input the details. This mode lets you book multiple visits, schedule recurring appointments and capture the most up-to-date client info—all without leaving the schedule.
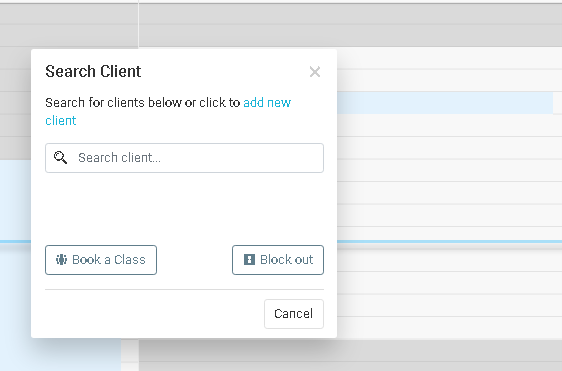
2. First, you will be asked to search for the client who is booking the appointment, or to add them to the system. In this example, we will be booking in an existing client, so proceed to type the clients name in the search box.
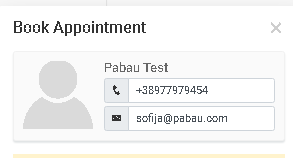
1. Client card
-
You will straight away be able to identify any information that is missing and correct it on the spot.
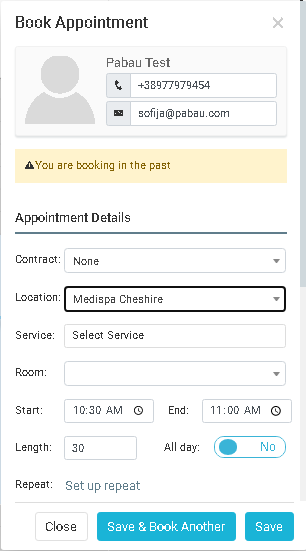
2. New appointment
-
Choose a Location, when multiple locations are added in Pabau.
-
Proceed to select the appointment service by searching the first part of the appointment. Use the square to do an advanced categorised search.
-
Now choose an available room for this service. Selecting 'Requested' will let you know that the client has requested that room.
-
By default, we choose the times setup by yourself, if you need to override the time at this stage you can do so by clicking the up & down arrow on the length text-field.
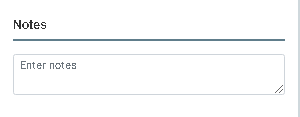
3. Notes
-
Here you can enter any notes relating to the appointment.
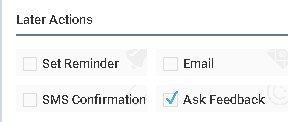
4. Later Actions
-
Schedule SMS/Email Reminder - The first checkbox will schedule a text/email reminder to go out before the appointment.
-
Send Email Confirmation - This will send out full confirmation details immediately once booking the appointment.
-
Send SMS Confirmation - This will send out full confirmation details immediately once booking the appointment.
-
Schedule Feedback - This will send out a survey after the appointment requesting feedback.
Once all of the above fields are complete, hit 'Save'. This will book the appointment in.
Did this answer your question?