
This article covers the new Client Card, available to selected clinics from August 2026. If your Client Card looks different, see the How to Share Documents Securely from the Client Card (Classic) guide instead.
Step 1: Navigate to the Client Card
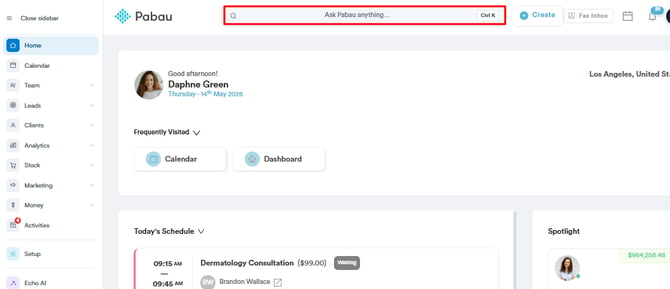
Start by logging in to your Pabau account, then use the search bar at the top of the screen to find the client with whom you wish to share a document.
Step 2: Open the Documents Section
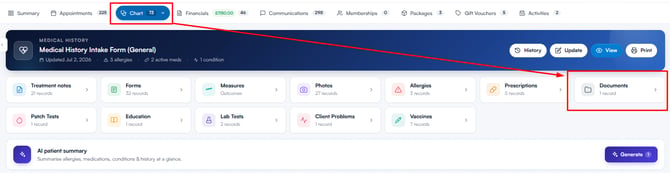
Click the "EMR" tab (labelled "Chart" for US businesses), then click the "Documents" card.
Step 3: Locate the Document You Want to Share
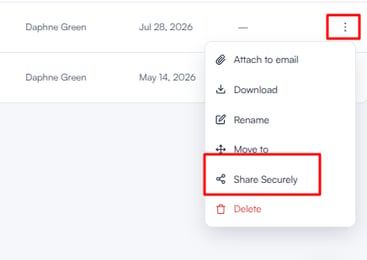
Locate the document you want to share and click the three-dot menu on the far right of its row, then select "Share Securely".
Step 4: Share the Document Securely
The "Share Documents" panel opens on the right-hand side of the screen, with your document already selected. From here, you can review, customise and send documents securely to your client.
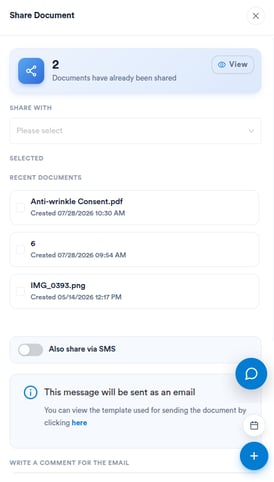
Here’s what each section of the panel includes:
-
Shared documents
At the top of the panel, you’ll see the total number of documents that have already been shared with the client.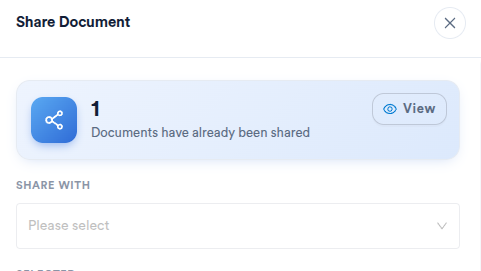
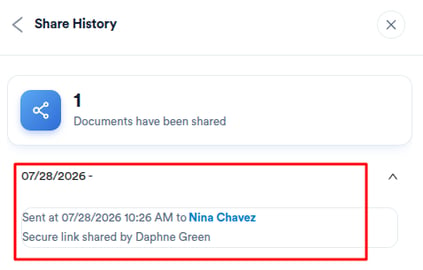
Click "View" to open the "Share History", which shows which documents were shared, when they were sent, which staff member shared them, and when the recipient opened them.
-
Share with
Select who will receive the documents — typically the client, but you can also share with another contact linked to the client, such as an insurance company. Recipients missing an email address or mobile number show a warning icon.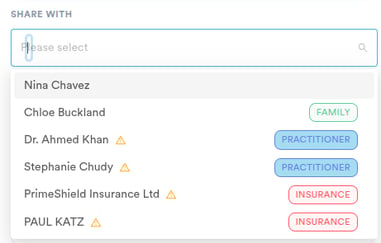
-
Selected
The documents you’ve chosen to share. To include more, click a document in the "Recent documents" list below to add it; click a selected document to remove it.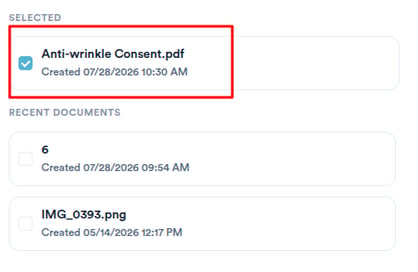
-
Also share via SMS
Keep this toggle switched on if you’d like the client to also receive the secure link by text message — it is on by default. To use this option, make sure SMS notifications for secure sharing are enabled in your "Client Notifications" settings.
-
Email delivery
The shared documents are sent to the client by email. You can preview the email template by clicking the link displayed in this section.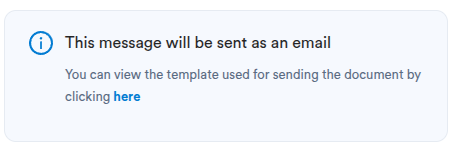
The template can also be customised in "Client Notifications" to better suit your clinic’s style and messaging.
-
Comment
Use the "Write a comment for the email" field to add a personalised message for your client — it is included with the shared documents, providing context or any additional information they may need.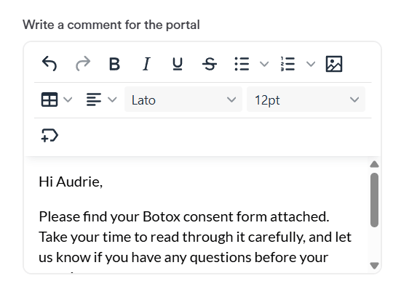
-
Password protection
The "Password protect" option is enabled by default to keep your documents secure. An access PIN, valid for 30 days, is automatically included in the email sent to the recipient — they must enter it to view the shared documents.
-
Finalise & send
Once you have reviewed all details, click "Share Securely" to send the documents to your client. The button reads "Share Securely via Email" or "Share Securely via SMS" when only one channel is enabled, and stays inactive until you’ve selected at least one recipient and one document. If you decide not to proceed, click "Close" — nothing will be saved or sent.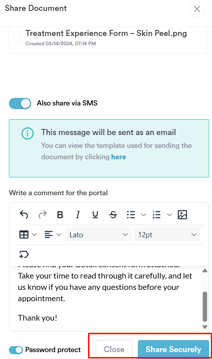
Step 5: How the Client Will Access the Document
After you share the document, your client receives an email containing the shared files along with the access PIN.
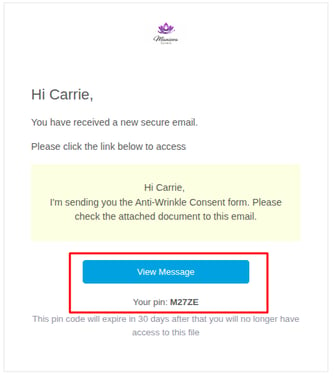
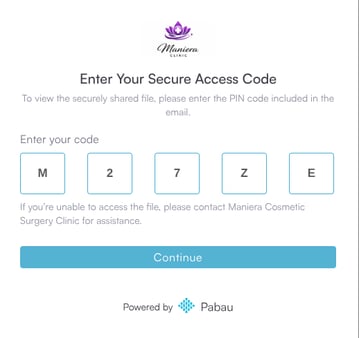
To open the document in the Client Portal, the client must enter this PIN, ensuring that only the intended recipient can view the documents.
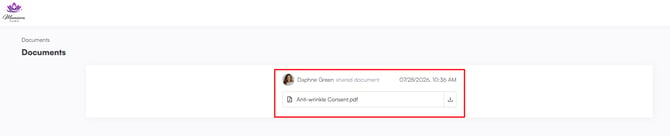
After entering the PIN, the client is taken to the Client Portal, where they can securely view and open the document.
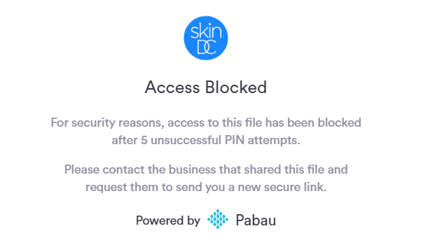
If a wrong PIN is entered 5 times, the client will see an error message. To resolve this, a staff member must share the document again via a new secure link.
By following these steps, you can securely share documents with your clients, ensuring they receive the necessary information safely and efficiently.
Was this guide helpful? Let us know by voting below — your feedback helps us write clearer articles.
For more guides, browse the related articles below or use the search bar at the top of the page. You can also watch our video learning series, the Pabau Academy, or visit the Support page for additional help.