Skip to content
  • There are no suggestions because the search field is empty.

How to Set Up Email Forwarding into Engage

This article guides you through setting up email forwarding into Engage, so emails sent to your clinic's existing inbox also arrive as conversations in the Email tab of the Engage inbox. A guided wizard gives you a dedicated Pabau forwarding address, walks you through adding it in your email provider, and even watches for the provider's verification email so you never have to leave the window.


NOTE: Email in Engage is free — there is no credit charge or subscription for receiving or sending email. If you would prefer to connect a staff mailbox directly and reply from your own address, we suggest reading our How to Connect Gmail or Microsoft 365 (Outlook) to Engage article.

Step 1: Open the Email Forwarding Wizard

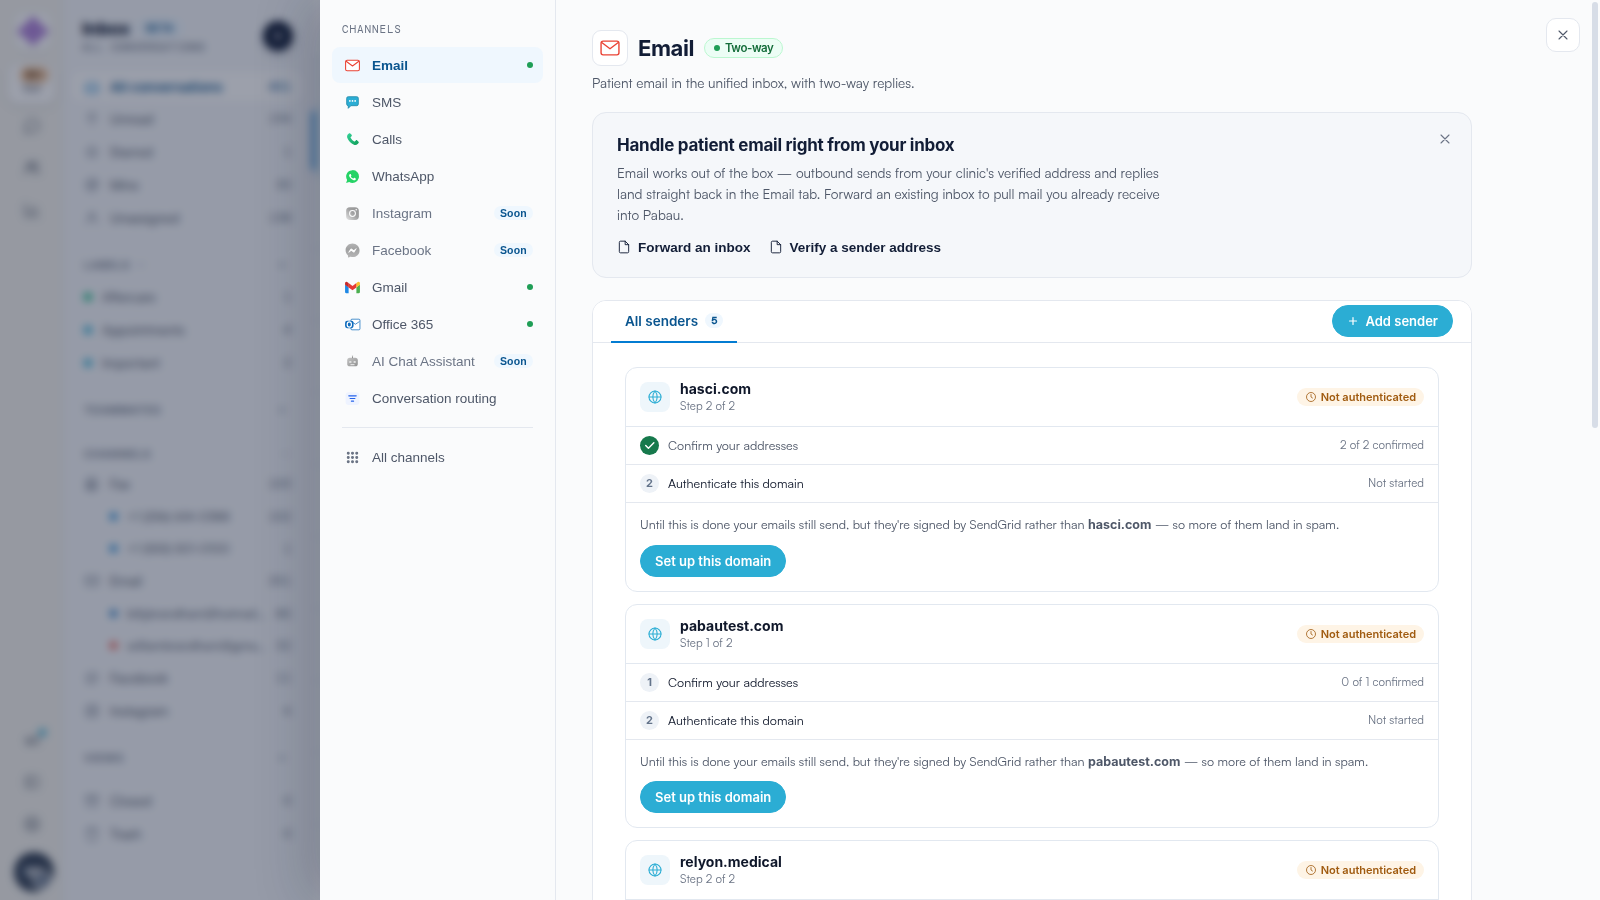
In Engage, click Channels in the navigation rail to open the Channel Catalog, then select the Email tab. On the Email card, click Forward an inbox. The Set up email forwarding wizard opens with four steps: Provider, Address, Forwarding and Test.

Step 2: Choose Your Email Provider

On the first step, Which email provider do you use?, pick Google / Gmail, Microsoft 365 or Other provider. The wizard tailors its instructions to your choice, and Steps 4–6 below include a detailed walkthrough for both Gmail and Microsoft 365 (Outlook). If you use another provider, the same pattern applies: add the Pabau address as a forwarding destination, verify it, then turn forwarding on.

Step 3: Copy Your Pabau Forwarding Address

The wizard shows your clinic's unique Pabau forwarding address (it ends in @pabaumail.com). Click Copy. Then fill in Your existing support inbox with the address your clients already email — Pabau stores this so your team knows which mailbox forwards here. Click Continue.

The email forwarding wizard on the Address step, showing the Pabau forwarding address with a Copy button and the existing support inbox field filled in

NOTE: The Pabau forwarding address is generated for your account and cannot be changed.

Step 4: Add the Address in Your Email Provider

The wizard now shows instructions tailored to your provider. Follow the matching section below, then return to the wizard and click I've added it - watch for verification.

The Forwarding step showing the Gmail instructions for adding the Pabau forwarding address, with the Open Google forwarding settings link

If you use Gmail / Google Workspace:

  1. Click Open Google forwarding settings ↗ in the wizard — or, in Gmail, click the gear icon in the top right and choose See all settings. Open the Forwarding and POP/IMAP tab and click Add a forwarding address.
    Gmail settings with the Forwarding and POP/IMAP tab open and the Add a forwarding address button highlighted
  2. Paste your Pabau forwarding address into the box and click Next.
    Gmail's Add a forwarding address dialog with the field for the new forwarding email address
  3. A confirmation window opens — click Proceed. Google now sends its verification email to your Pabau inbox, which the wizard picks up in the next step.
    Google's Confirm forwarding address window with the Proceed button highlighted

If you use Microsoft 365 / Outlook:

  1. Open Outlook on the web, click the gear icon in the top right to open Settings, then go to MailForwarding (in some Outlook versions the section is named EmailForwarding).
    Outlook settings showing the Email section with the Forwarding page open and the Enable forwarding toggle highlighted
  2. Turn on the Enable forwarding toggle.
  3. In Forward my email to, paste your Pabau forwarding address.
  4. Tick Keep a copy of forwarded messages — without it, forwarded emails are not kept in your Outlook inbox.
  5. Click Save.
    Outlook's Forwarding settings with Enable forwarding switched on, the Forward my email to field filled in, and the Keep a copy of forwarded messages checkbox

NOTE: On Microsoft 365 business accounts, your administrator may have blocked forwarding to external addresses. If forwarded emails never arrive in Pabau, ask your IT administrator to allow forwarding to your Pabau address.

Step 5: Confirm the Verification Email

When you add the address, your provider sends a verification email to your Pabau inbox. The wizard watches for it automatically — keep the window open. For Gmail, the wizard displays the confirmation code with a Copy code button and a Confirm forwarding with Google ↗ link; click the link to approve the request, then back in the wizard click Confirm forwarding ↗ to continue.

The Verification email found screen showing Gmail's confirmation code with a Copy code button and the Confirm forwarding with Google link

Alternatively, click Copy code and paste the code into the Verify box that now appears on Gmail's Forwarding and POP/IMAP settings page, then click Verify. Either way, refresh Google's forwarding settings page afterwards so the Pabau address shows as verified.

Gmail's Forwarding settings showing the Verify box where the confirmation code is pasted, next to the Verify button

For Microsoft 365 and other providers, the wizard tells you when the verification email has arrived — open it from the Email tab, click the confirmation link inside, then click Continue in the wizard.

TIP: If the wizard keeps watching for longer than expected, click Check again and make sure you entered the forwarding address in your provider exactly as shown.

Step 6: Turn On Forwarding in Your Provider

Verifying the address does not start forwarding by itself in Gmail — one final step in Google's settings is needed. (Microsoft 365 users can skip this: the Enable forwarding toggle you switched on in Step 4 already turned forwarding on — just double-check it is still on and the address is correct.)

If you use Gmail / Google Workspace:

  1. Reopen Settings → See all settings → Forwarding and POP/IMAP.
  2. Select Forward a copy of incoming mail to and pick the Pabau address from the dropdown — it now shows as verified. In the dropdown next to it, keep keep Gmail's copy in the Inbox so the original emails also stay in Gmail.
    Gmail's Forwarding setting with the Forward a copy of incoming mail to option selected and keep Gmail's copy in the Inbox chosen
  3. Scroll to the bottom of the page and click Save Changes — this is what actually turns forwarding on.

Back in the wizard, click Done - forwarding is on.

The Almost done - turn on forwarding screen listing the Gmail steps to enable forwarding to the Pabau address, with the Done - forwarding is on button

NOTE: Nothing is saved until you click Done - forwarding is on — closing the wizard partway through leaves no half-finished setup behind.

Step 7: Send a Test Email

On the final step, click Send test email. Pabau sends a test message through your new forwarding address, and the wizard confirms with Forwarding is set up. Click Open Email inbox to watch it arrive in the Email tab as an inbound conversation — it can take a few minutes to appear, and the same applies to forwarded emails from your clients.

The Forwarding is set up screen with all four wizard steps complete and the Open Email inbox button

Changing or Removing Forwarding

Once forwarding is configured, the Email card's button changes to Manage forwarding. From there you can copy your Pabau forwarding address, see the inbox recorded under Forwarding from, click Edit forwarding to change the setup, or click Remove to clear it.

IMPORTANT: Removing forwarding in Pabau only clears the record on the Pabau side. Mail keeps arriving until you also delete the forwarding rule in your provider (Gmail → Settings → Forwarding and POP/IMAP, or Outlook → Settings → Mail → Forwarding). Emails already received stay in your inbox.

NOTE: The saved source inbox is recorded against the staff member who set it up, so a colleague opening Manage forwarding may see "No source inbox recorded." even though forwarding is active.

We suggest reading our Email in Engage: Sending, Forwarding and Mailboxes Explained article for an overview of how email works in Engage.

For more guides, refer to related articles below, select additional guides, or use the search bar at the top of the page. These guides will help you get the most out of your Pabau account.

Additionally, to help you fully utilize and understand your Pabau account, we recommend exploring additional guides and resources offered at the Pabau Academy.